Our Piercing Process
Follow the best practices below to use our . Click instrument safely and professionally
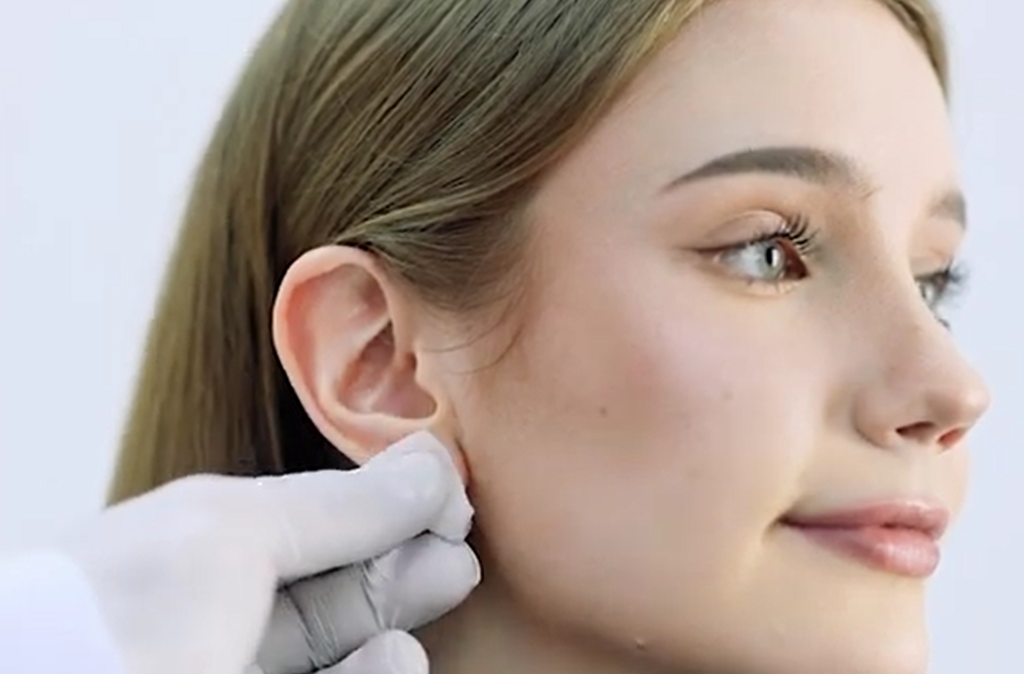
Preparation Process
Step 1
Always sanitize your hands before starting an ear piercing. Then, check both ears for cysts and keloids that could hinder piercing. Use the alcohol pad to clean the front and back of your ears, especially where the piercing point is. Mark the piercing location with a surgical marking pen.
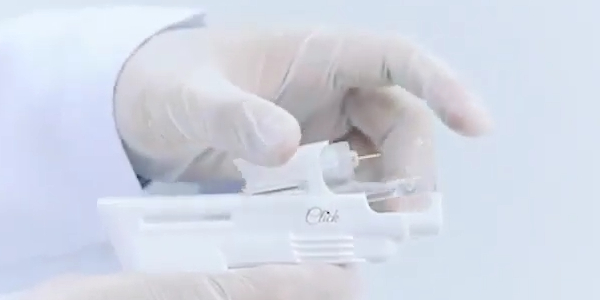
Setup Click Piercing Instrument
Step 2
Remove the sterile backing to expose the Click piercing cartridge. Then, fit the rear end of the carriage into the top of the Click instrument. Gently press down on the Click instrument until you hear the cartridge click into place.

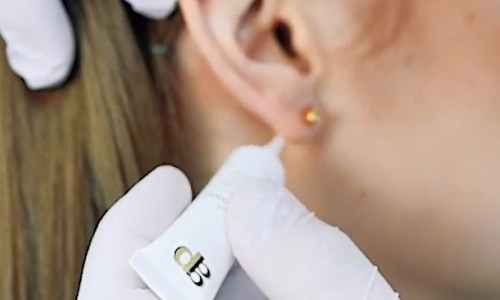
Piercing Process
Step 3
Make sure the instrument is parallel to your face. Carefully adjust the gap between the stud and clasp. Align the marking on the ear. Press the device as far as it will go for 2 seconds and release it. Then, carefully remove the device away from the ear.
After Piercing Process
Step 4
Remove the used cartridge from the Click instrument, place it back in the sterile packaging, and discard both. Once the piercing is completed, apply ear care gel to the ear.
